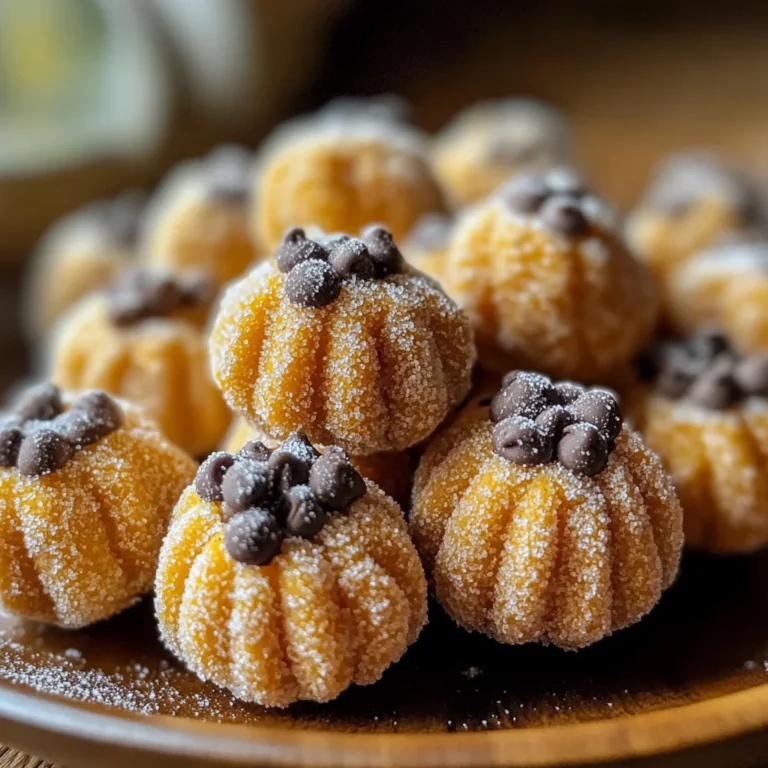
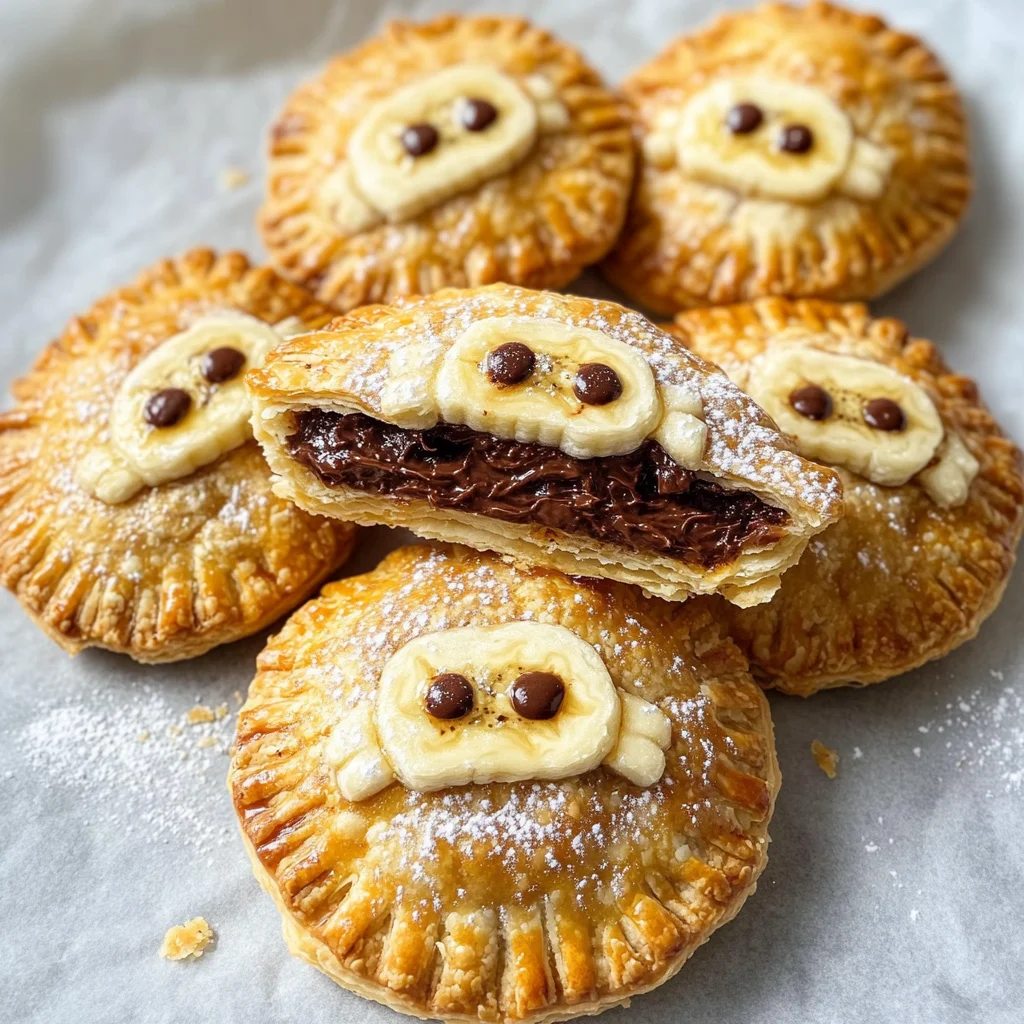
Nutella Mummy Hand Pies
Vegan Nutella Mummy Hand Pies are the ultimate Halloween treat! These delightful pastries are not only fun to make but also incredibly tasty. With a rich filling of creamy Vegan Nutella and a flaky crust, they are perfect for Halloween parties, family gatherings, or just a sweet snack. Easy to prepare and deliciously satisfying, these Mummy Hand Pies will surely be a hit with kids and adults alike.
Why You’ll Love This Recipe
- Quick and Easy: With just a few simple ingredients, you can whip up these hand pies in no time.
- Kid-Friendly Fun: Get the little ones involved in the kitchen for a spooky baking experience they’ll love!
- Deliciously Decadent: The combination of Vegan Nutella and bananas creates a rich, sweet filling that everyone will enjoy.
- Versatile Treat: These pastries can be customized with different fillings or toppings to suit your taste.
- Perfect for Parties: Bring these fun hand pies to your next Halloween gathering and watch them disappear!
Tools and Preparation
Before diving into this delightful recipe, gather your tools. Having everything ready will make the process smooth and enjoyable.
Essential Tools and Equipment
- Baking sheet
- Rolling pin
- Knife or pizza cutter
- Pastry brush
Importance of Each Tool
- Baking sheet: Ensures even cooking and browning of the hand pies.
- Rolling pin: Helps roll out the puff pastry to the perfect thickness for great texture.

Ingredients
To create these delightful Vegan Nutella Mummy Hand Pies, you’ll need the following ingredients:
For the Pastry
- 2 sheets of ready roll puff pastry (Vegan & gluten-free)
For the Filling
- 6 tablespoons of Vegan Nutella
- 2 medium sized bananas
For Assembly
- 3 tablespoons of dairy-free milk (for the egg wash)
- 2 tablespoons of caster / granulated sugar
- 1 packet of dairy-free white chocolate buttons
- 2 tablespoons of icing sugar (dusting)
How to Make Nutella Mummy Hand Pies
Step 1: Preheat the Oven
Start by preheating your oven to 375°F (190°C). This ensures that your hand pies will bake evenly.
Step 2: Prepare the Pastry
- Roll out each sheet of puff pastry on a lightly floured surface.
- Cut each sheet into rectangles, about 4×6 inches in size.
Step 3: Fill with Nutella and Bananas
- Spread about 1 tablespoon of Vegan Nutella on one half of each rectangle.
- Slice bananas and layer them over the Nutella.
Step 4: Seal the Pies
- Fold over the other half of each rectangle to cover the filling.
- Use a fork to press down on the edges, sealing them tightly.
Step 5: Brush with Milk and Sprinkle Sugar
- Brush dairy-free milk over each pie for a golden finish.
- Sprinkle granulated sugar on top for added sweetness.
Step 6: Bake Your Hand Pies
Place your hand pies on a baking sheet lined with parchment paper. Bake in the preheated oven for about 20-25 minutes or until golden brown.
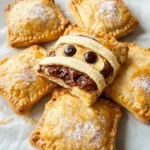
Step 7: Decorate as Mummies
Once baked, allow them to cool slightly. Melt dairy-free white chocolate buttons and drizzle over each pie to create mummy “bandages.”
Step 8: Serve with Icing Sugar Dusting
Dust with icing sugar before serving for an extra touch of sweetness!
Enjoy these spooky yet scrumptious Vegan Nutella Mummy Hand Pies at your next Halloween celebration!
How to Serve Nutella Mummy Hand Pies
Serving Nutella Mummy Hand Pies is a delightful way to celebrate Halloween. These treats can be enjoyed on their own or paired with various accompaniments for a festive touch.
Pair with Hot Drinks
- Hot Chocolate: A rich and creamy beverage that complements the sweetness of the hand pies.
- Spiced Apple Cider: Warm cider adds a seasonal flavor that enhances the overall experience.
Go with Dipping Sauces
- Chocolate Sauce: Drizzle or dip your hand pies in melted dairy-free chocolate for an extra indulgence.
- Fruit Puree: A berry or banana puree adds freshness and acidity to balance the sweetness.
Create Fun Platter Displays
- Halloween-Themed Plates: Use spooky designs to serve your hand pies, making them visually appealing at parties.
- Mixed Treats: Include other Halloween-themed baked goods for variety and fun.
How to Perfect Nutella Mummy Hand Pies
Creating the perfect Nutella Mummy Hand Pies involves some handy tips. Follow these suggestions to ensure they come out just right.
- Use Chilled Pastry: Keeping pastry sheets cold helps achieve a flaky texture when baked.
- Seal Edges Well: Press down on the edges firmly to prevent filling from leaking during baking.
- Cut Vents: Make small slits on top of each pie before baking to allow steam to escape.
- Brush with Dairy-Free Milk: This gives the hand pies a lovely golden color as they bake.
- Add Extra Filling Wisely: Don’t overfill; too much filling can cause them to burst open.
Best Side Dishes for Nutella Mummy Hand Pies
Pairing your Nutella Mummy Hand Pies with side dishes can elevate your Halloween snacking experience. Here are some great options to consider:
- Fresh Fruit Salad: A mix of seasonal fruits adds a refreshing contrast to the sweet pastries.
- Caramelized Apples: Sweet, warm apples drizzled with caramel make a cozy side dish.
- Pumpkin Soup: A smooth and creamy pumpkin soup fits perfectly with the Halloween theme.
- Crispy Veggies and Hummus: Crunchy vegetables paired with hummus provide a savory balance.
- Spooky Cheese Board: Include assorted vegan cheeses, nuts, and crackers for variety.
- Sweet Potato Fries: Crispy sweet potato fries offer a deliciously sweet and salty pairing.
Common Mistakes to Avoid
When making Nutella Mummy Hand Pies, it’s easy to overlook some key details that can affect the final result. Here are common mistakes to watch out for:
- Incorrect pastry thickness: Using pastry that is too thick can lead to uneven baking. Roll the puff pastry to a consistent thickness for even results.
- Skipping the chilling step: If you don’t chill your hand pies before baking, they may spread out and lose their shape. Always refrigerate them for at least 15 minutes.
- Overfilling with Nutella: Adding too much filling can cause spills during baking. Use just the right amount—around 1 tablespoon per pie—to prevent mess.
- Not sealing edges properly: Failing to seal the edges well can lead to leaks while baking. Use a fork or your fingers to press down the edges firmly.
- Ignoring baking time: Overbaking can make your hand pies hard and dry. Keep an eye on them and bake until they are golden brown.
Storage & Reheating Instructions
Refrigerator Storage
- Store in an airtight container for up to 3 days.
- Place parchment paper between layers to prevent sticking.
Freezing Nutella Mummy Hand Pies
- Freeze unbaked hand pies for up to 2 months.
- Wrap individually in plastic wrap before placing in a freezer-safe bag.
Reheating Nutella Mummy Hand Pies
- Oven: Preheat to 350°F (175°C) and bake for about 10 minutes until warm.
- Microwave: Heat on medium power for 30 seconds; check and repeat as necessary.
- Stovetop: Warm in a skillet over low heat for about 3-5 minutes, turning occasionally.
Frequently Asked Questions
Here are some common questions about Nutella Mummy Hand Pies that might help you in your baking journey.
Can I use other fillings besides Nutella?
Absolutely! You can substitute Nutella with almond butter or fruit preserves for a different flavor profile.
How do I make these Nutella Mummy Hand Pies gluten-free?
Simply choose gluten-free puff pastry sheets available at many grocery stores, ensuring all ingredients are gluten-free.
What is the best way to decorate my mummy hand pies?
Use melted dairy-free white chocolate buttons for eyes and extra designs on top after baking.
Can I prepare these hand pies in advance?
Yes! Assemble and freeze them unbaked, then simply bake when you’re ready to enjoy.
Final Thoughts
Nutella Mummy Hand Pies are a delightful treat perfect for Halloween celebrations or any festive occasion. Their versatility allows you to customize fillings according to your taste, making them not only fun but also delicious. Give this recipe a try and impress your family and friends!
Nutella Mummy Hand Pies
Indulge in the delightful flavors of Nutella Mummy Hand Pies this Halloween! These sweet pastries are a perfect blend of flaky crust and creamy Vegan Nutella filling, making them an irresistible treat for kids and adults alike. Easy to prepare, these hand pies offer a fun baking experience that can be enjoyed at parties or as a festive snack. With their spooky mummy design and rich taste, they’re sure to disappear quickly at any gathering. Customize with your favorite fillings or toppings to make them even more special!
- Prep Time: 15 minutes
- Cook Time: 25 minutes
- Total Time: 40 minutes
- Yield: Makes about 6 hand pies 1x
- Category: Dessert
- Method: Baking
- Cuisine: Vegan
Ingredients
- 2 sheets of ready roll puff pastry (Vegan & gluten-free)
- 6 tablespoons of Vegan Nutella
- 2 medium-sized bananas
- 3 tablespoons of dairy-free milk (for the wash)
- 2 tablespoons of caster/granulated sugar
- 1 packet of dairy-free white chocolate buttons
- 2 tablespoons of icing sugar (for dusting)
Instructions
- Preheat the oven to 375°F (190°C).
- Roll out puff pastry on a floured surface and cut into rectangles (4×6 inches).
- Spread 1 tablespoon of Vegan Nutella on one half of each rectangle; layer sliced bananas on top.
- Fold over the other half, seal edges with a fork.
- Brush dairy-free milk on each pie and sprinkle with sugar.
- Bake for 20-25 minutes until golden brown.
- Once cooled, drizzle melted dairy-free white chocolate over the pies for decoration.
- Dust with icing sugar before serving.
Nutrition
- Serving Size: 1 serving
- Calories: 215
- Sugar: 10g
- Sodium: 150mg
- Fat: 9g
- Saturated Fat: 4g
- Unsaturated Fat: 4g
- Trans Fat: 0g
- Carbohydrates: 32g
- Fiber: 2g
- Protein: 3g
- Cholesterol: 0mg