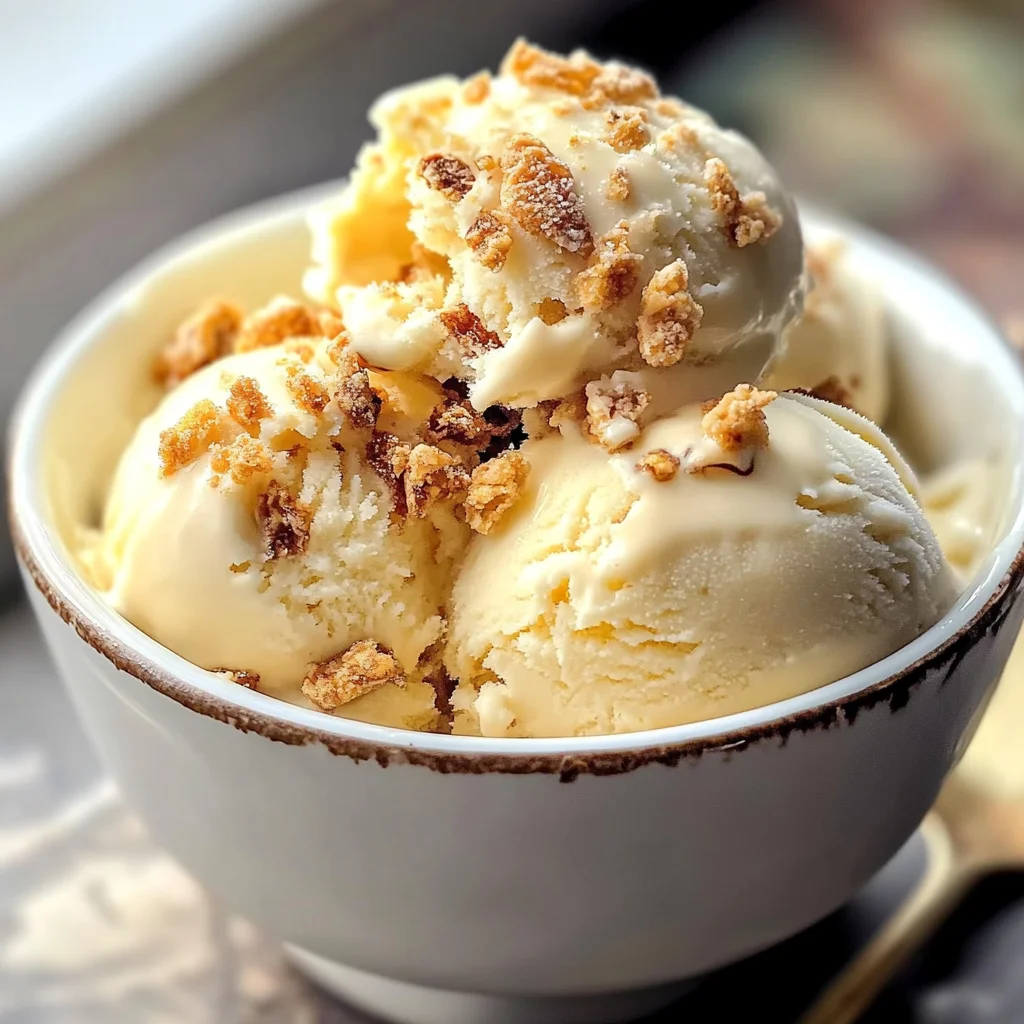
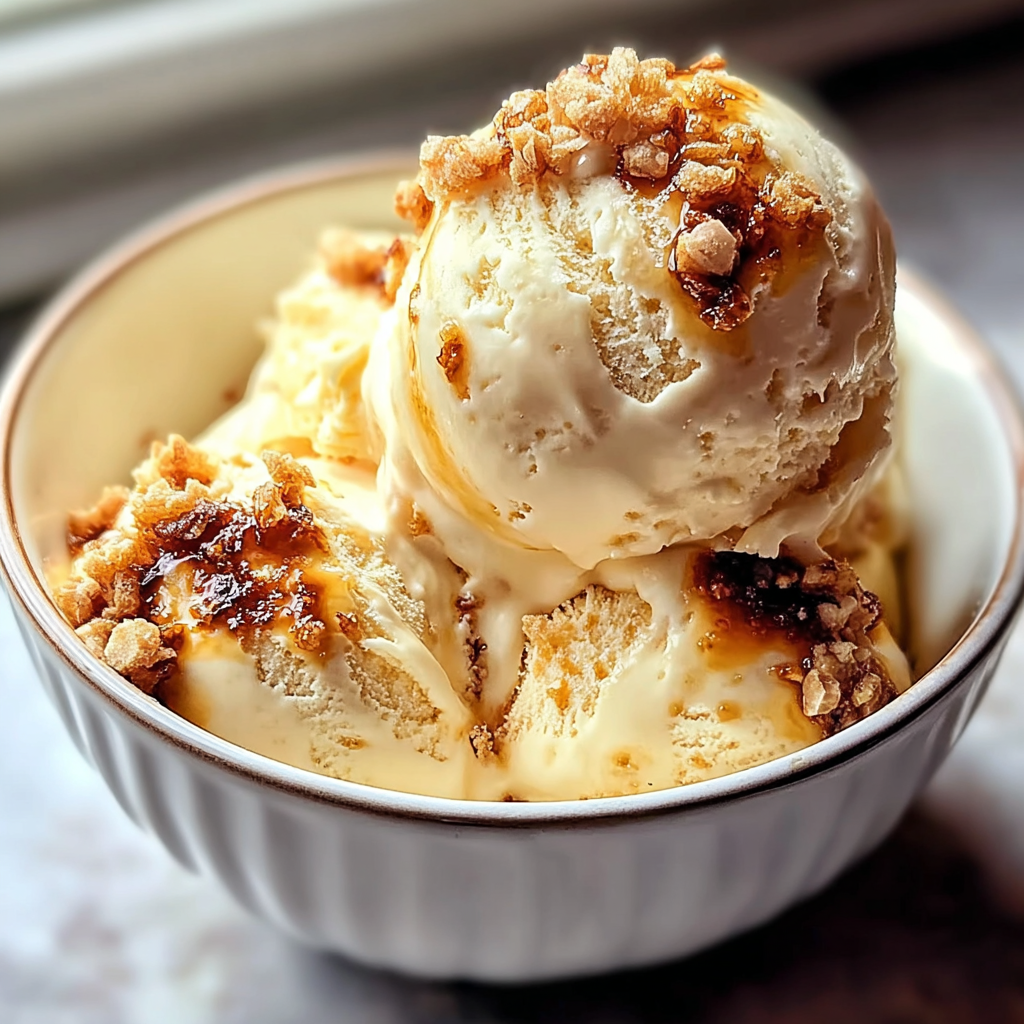
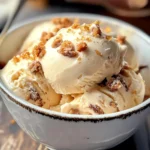
No Churn Crème Brûlée Ice Cream
No Churn Crème Brûlée Ice Cream is a delightful dessert that captures the essence of the classic French treat. With its rich vanilla flavor and crunchy toffee bits, this ice cream is perfect for family gatherings, summer barbecues, or a cozy night in. You don’t need an ice cream maker to whip up this luxurious frozen dessert, making it easy for everyone to enjoy.
Why You’ll Love This Recipe
- Effortless Preparation: No ice cream maker required! Just mix and freeze.
- Decadent Flavor: The combination of vanilla bean and toffee offers a gourmet taste.
- Versatile Treat: Perfect for any occasion—from birthdays to casual dinners.
- Quick to Make: Prep time is just 10 minutes, and it sets while you wait.
- Crowd-Pleaser: This dessert delights both kids and adults alike with its creamy texture.
Tools and Preparation
To create this no churn crème brûlée ice cream, you’ll need some essential tools. Having the right equipment will make the process smoother and more enjoyable.
Essential Tools and Equipment
- Mixing bowl
- Whisk
- Loaf pan or airtight container
- Measuring cups and spoons
Importance of Each Tool
- Mixing bowl: A large mixing bowl allows you to whip cream easily without splattering.
- Whisk: A good whisk is vital for achieving stiff peaks in your heavy cream.
Ingredients
For the Ice Cream Base
- 2 cups heavy whipping cream
- 1 (14 oz) can sweetened condensed milk
- 1 tbsp vanilla bean paste
- Optional pinch of salt
For the Crunchy Toppings
- ½ cup toffee bits or crushed Heath Bar pieces
How to Make No Churn Crème Brûlée Ice Cream
Step 1: Chill Your Equipment
Chill your mixing bowl and whisk in the freezer for about 10 minutes. This helps the cream whip faster.
Step 2: Whip the Heavy Cream
Whip the heavy whipping cream using your chilled whisk until stiff peaks form. This creates a light texture for your ice cream.
Step 3: Mix Condensed Milk
In a separate bowl, combine the sweetened condensed milk, vanilla bean paste, and optional salt. Stir until well mixed.
Step 4: Combine Mixtures
Gently fold the whipped cream into the condensed milk mixture. Be careful not to deflate the whipped cream; you want to keep it airy.
Step 5: Add Toppings
Fold in the toffee bits, ensuring they are evenly distributed throughout the base mixture.
Step 6: Transfer and Smooth
Pour the mixture into a loaf pan or airtight container. Smooth out the top with a spatula for an even finish.
Step 7: Freeze
Cover with plastic wrap or a lid and freeze for at least 6 hours or overnight until firm.
Step 8: Serve
Let soften for a few minutes at room temperature before scooping. Enjoy your homemade no churn crème brûlée ice cream!
How to Serve No Churn Crème Brûlée Ice Cream
Serving your No Churn Crème Brûlée Ice Cream can elevate the experience and make it even more delightful. Here are some fun and creative ways to present this luxurious dessert.
In a Classic Bowl
- A simple yet elegant way to serve your ice cream. Use a small bowl to highlight the rich color and texture of the ice cream. Top with extra toffee bits for added crunch.
With Fresh Berries
- Serve alongside a handful of fresh berries like strawberries or raspberries. The tartness of the berries complements the sweetness of the ice cream beautifully.
On a Waffle Cone
- Scoop the ice cream into a waffle cone for a fun, portable treat. Drizzle with chocolate sauce or caramel for an extra indulgence.
As an Ice Cream Sandwich
- Use two cookies or brownies to create an ice cream sandwich. This playful serving option is perfect for parties and gatherings.
Topped with Whipped Cream
- Add a dollop of whipped cream on top just before serving. For an elegant touch, consider sprinkling some crushed toffee on the whipped cream.
How to Perfect No Churn Crème Brûlée Ice Cream
To achieve the best results with your No Churn Crème Brûlée Ice Cream, follow these helpful tips that guarantee smooth and creamy perfection.
- Chill equipment: Before whipping the cream, chill your mixing bowl and whisk. This helps achieve better volume in your whipped cream.
- Use quality ingredients: Opt for high-quality vanilla bean paste for an authentic flavor that enhances your ice cream.
- Fold gently: When combining the whipped cream with condensed milk, fold gently to maintain airiness, ensuring a light texture.
- Freeze properly: Allow enough time for freezing—at least 6 hours or overnight—to achieve the right consistency.
- Let soften before serving: To enjoy optimal flavor and texture, let the ice cream sit at room temperature for a few minutes before serving.
Best Side Dishes for No Churn Crème Brûlée Ice Cream
Pairing side dishes with your No Churn Crème Brûlée Ice Cream can create a well-rounded dessert experience. Here are some excellent options to consider.
- Chocolate Chip Cookies: These classic treats offer a chewy contrast to the creamy ice cream. Serve warm for added delight.
- Fruit Tart: A fresh fruit tart brings vibrant flavors and textures that complement the richness of the ice cream.
- Caramel Sauce: Drizzling homemade or store-bought caramel sauce adds an extra layer of sweetness that pairs wonderfully with crème brûlée flavors.
- Shortbread Cookies: Their buttery richness makes them perfect companions for scooping up creamy bites of ice cream.
- Pecan Pie Bars: The nutty sweetness from pecan pie bars provides a delicious contrast to the silky smooth texture of the ice cream.
- Sponge Cake: Light and airy sponge cake serves as a neutral base that allows the flavors of your ice cream to shine through beautifully.
Common Mistakes to Avoid
When making No Churn Crème Brûlée Ice Cream, avoid these common pitfalls for the best results.
- Not chilling the bowl – Skipping the chilling step for your mixing bowl can lead to a less stable whipped cream. Always chill your bowl and whisk for optimal results.
- Overwhipping the cream – Whipping the cream too long can cause it to become grainy. Stop once stiff peaks form to maintain a smooth texture.
- Skipping the salt – Some may think salt is unnecessary, but it enhances the flavors. A pinch of salt in your mixture makes all the difference.
- Ignoring freezing time – Not allowing enough time in the freezer can result in a soft and scoopable ice cream. Freeze for at least 6 hours or overnight for best consistency.
- Not folding gently – Folding the whipped cream too aggressively can deflate it. Use a gentle hand to preserve airiness in your ice cream mixture.
Storage & Reheating Instructions
Refrigerator Storage
- Store any leftover No Churn Crème Brûlée Ice Cream in an airtight container.
- It will last up to 3 days in the refrigerator.
Freezing No Churn Crème Brûlée Ice Cream
- For long-term storage, keep it frozen in an airtight container.
- It can last up to 2 weeks in the freezer without losing quality.
Reheating No Churn Crème Brûlée Ice Cream
- Oven – Not applicable; this ice cream should be served cold.
- Microwave – Place a scoop in a microwave-safe bowl and heat in short bursts of 10-15 seconds if it needs softening.
- Stovetop – Not recommended; serve directly from the freezer for best texture.
Frequently Asked Questions
What makes No Churn Crème Brûlée Ice Cream different?
No churn ice cream doesn’t require an ice cream maker, making it accessible for everyone. The creamy texture comes from whipping heavy cream combined with sweetened condensed milk.
Can I use other flavors?
Absolutely! Feel free to customize your No Churn Crème Brûlée Ice Cream by adding flavors like chocolate or fruit purees instead of toffee bits.
How do I achieve a crunchy topping?
For a crunchy topping, consider adding toasted nuts or crushed cookies on top just before serving for added texture alongside the toffee bits.
Is there a dairy-free version?
Yes, you can substitute heavy whipping cream with coconut cream and use dairy-free condensed milk for a delicious dairy-free dessert option.
Final Thoughts
No Churn Crème Brûlée Ice Cream is a delightful treat that combines rich flavors with an easy preparation method. Its creamy texture and customizable nature make it an excellent choice for any occasion. Try adding your favorite mix-ins or toppings to create your perfect dessert!
No Churn Crème Brûlée Ice Cream
Indulge in the luxurious taste of No Churn Crème Brûlée Ice Cream, a delightful frozen dessert that captures the essence of the classic French treat without needing an ice cream maker. This creamy concoction combines rich vanilla flavors with crunchy toffee bits, making it a perfect addition to family gatherings, summer barbecues, or cozy nights at home. With just 10 minutes of prep time and a little patience while it freezes, you can create a decadent dessert that delights both kids and adults alike.
- Prep Time: 10 minutes
- Cook Time: Freezing time varies
- Total Time: 0 hours
- Yield: Approximately 4 servings 1x
- Category: Dessert
- Method: No churn
- Cuisine: French
Ingredients
- 2 cups heavy whipping cream
- 1 (14 oz) can sweetened condensed milk
- 1 tbsp vanilla bean paste
- ½ cup toffee bits or crushed Heath Bar pieces
- Optional pinch of salt
Instructions
- Chill your mixing bowl and whisk in the freezer for about 10 minutes.
- Whip the heavy whipping cream in the chilled bowl until stiff peaks form.
- In another bowl, mix sweetened condensed milk, vanilla bean paste, and optional salt until well blended.
- Gently fold the whipped cream into the condensed milk mixture until combined.
- Fold in toffee bits evenly.
- Pour mixture into a loaf pan or airtight container, smoothing the top.
- Cover and freeze for at least 6 hours or overnight until firm.
- Let soften slightly before scooping and serving.
Nutrition
- Serving Size: 1/2 cup (120g)
- Calories: 380
- Sugar: 31g
- Sodium: 45mg
- Fat: 27g
- Saturated Fat: 17g
- Unsaturated Fat: 10g
- Trans Fat: 0g
- Carbohydrates: 30g
- Fiber: 0g
- Protein: 4g
- Cholesterol: 105mg