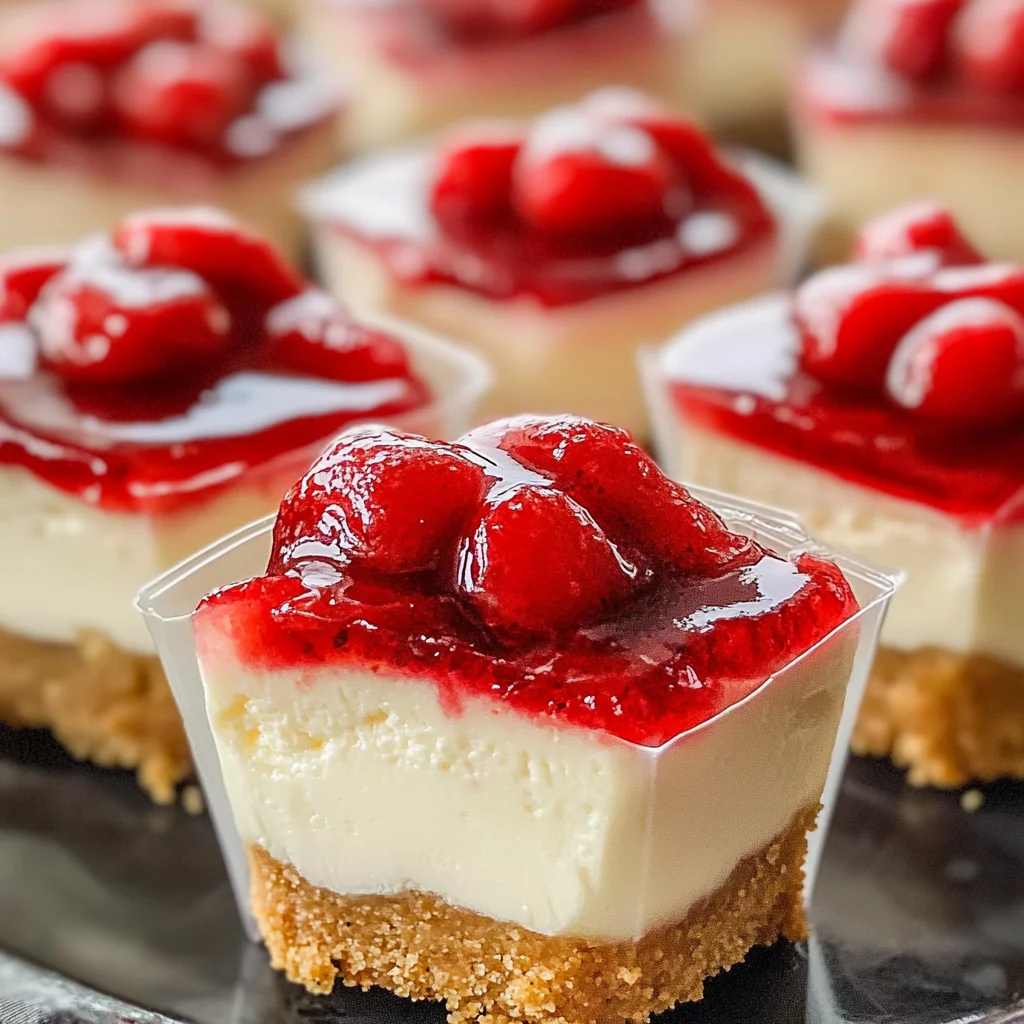
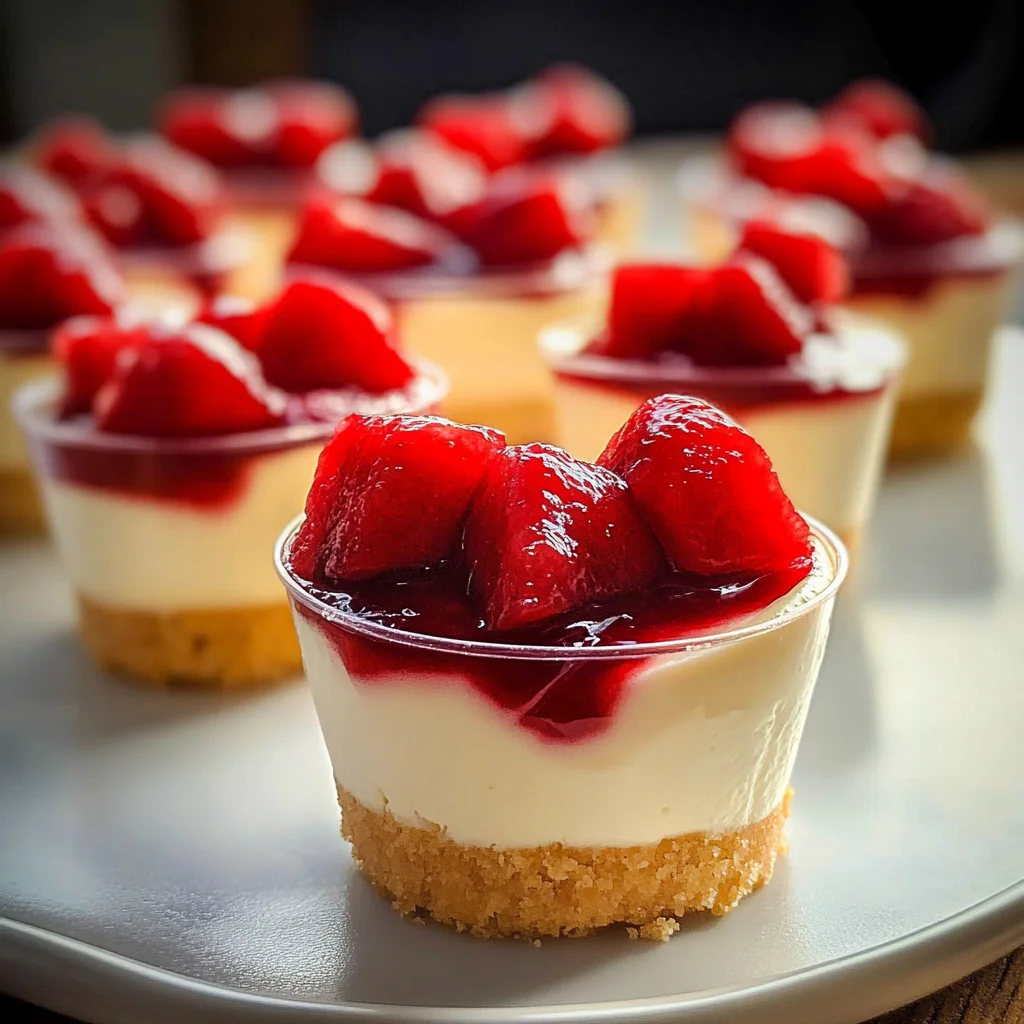
Easy Cheesecake Cups
Creamy and delightful, Easy Cheesecake Cups are the perfect dessert for any gathering. These individual servings of cheesecake offer a blend of sweet flavors and smooth textures, making them a crowd favorite. Their simplicity allows you to whip them up in no time, providing an elegant touch to parties, picnics, or family dinners. Plus, with a variety of fruit toppings available, you can customize each cup to suit everyone’s taste.
Why You’ll Love This Recipe
- Quick and Simple: This recipe takes only 30 minutes from start to finish, making it perfect for last-minute dessert cravings.
- No Baking Required: Enjoy a delicious cheesecake without the need to turn on the oven or worry about baking times.
- Customizable Toppings: With options like cherry, strawberry, or blueberry pie filling, you can switch it up based on your preferences or seasonal fruits.
- Perfect for Any Occasion: Whether it’s a birthday party, holiday gathering, or casual get-together, these cheesecake cups fit right in.
- Individual Servings: Serving in cups means everyone gets their own portion; no slicing or mess involved!
Tools and Preparation
Before diving into this easy recipe, gather your tools and equipment. Having everything ready will streamline your preparation process.
Essential Tools and Equipment
- Electric mixer
- Mixing bowls
- Measuring cups and spoons
- Dessert cups or small glasses
- Rubber spatula
Importance of Each Tool
- Electric mixer: This tool makes it easy to achieve a smooth cream cheese mixture and perfectly whipped cream without much effort.
- Mixing bowls: Having multiple sizes allows for efficient mixing and layering of your ingredients.
- Rubber spatula: Perfect for folding whipped cream into the cheesecake mixture without deflating it.
Ingredients
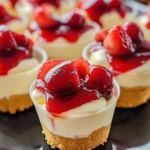
Creamy cheesecake layered with vanilla wafers & toppings in individual cups is such an easy dessert for a crowd!
For the Cheesecake Base
- 16 vanilla wafer cookies (or more as needed)
- 16 ounces cream cheese (softened)
- 1 cup powdered sugar
- 1 teaspoon vanilla extract
For the Whipped Topping
- 1 cup heavy whipping cream
- ½ teaspoon cornstarch
For the Fruit Topping
- 1 can prepared fruit pie filling (cherry, strawberry, or blueberry)
How to Make Easy Cheesecake Cups
Step 1: Prepare the Cream Cheese Mixture
- Beat cream cheese with an electric mixer until smooth.
- Add powdered sugar and vanilla extract, then beat until combined. Set aside.
Step 2: Whip the Cream
- In a medium bowl, beat heavy cream on low speed for 1 minute.
- Add cornstarch, then increase mixer speed to high. Beat for an additional 3-4 minutes or until stiff peaks form.
- Gently fold the whipped cream into the cream cheese mixture until well combined.
Step 3: Assemble the Cheesecake Cups
- Place one vanilla wafer cookie at the bottom of each dessert cup.
- Fill each cup with the cheesecake filling until 1 inch from the top.
Step 4: Add Toppings
- Spoon desired fruit pie filling on top of each cheesecake cup.
- Chill in the refrigerator for at least 1 hour before serving to allow flavors to meld together.
Enjoy your deliciously easy cheesecake cups that are sure to impress!
How to Serve Easy Cheesecake Cups
Serving Easy Cheesecake Cups is a breeze, and they make for a delightful dessert at any gathering. Their individual portions are perfect for sharing, and you can get creative with toppings and presentation.
Classic Presentation
- Use clear cups or jars to showcase the beautiful layers of cheesecake and fruit.
Fruit Toppings
- Top each cup with a generous spoonful of your favorite fruit pie filling, like cherry or blueberry, for added sweetness.
Whipped Cream Garnish
- Add a dollop of freshly whipped cream on top for an extra creamy touch.
Chocolate Drizzle
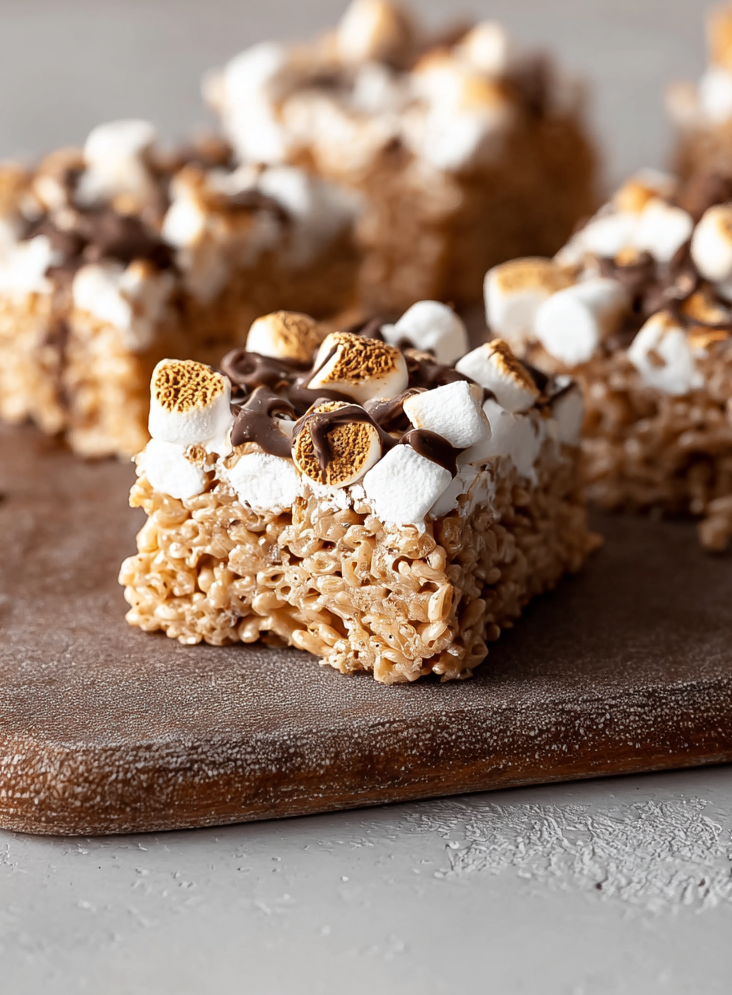
- Drizzle melted chocolate over the top for a rich flavor contrast.
Crushed Nuts
- Sprinkle crushed nuts, like pecans or almonds, on top for added crunch.
Fresh Berries
- Garnish with fresh berries such as strawberries or blueberries for a pop of color and freshness.
How to Perfect Easy Cheesecake Cups
Perfecting Easy Cheesecake Cups is all about the right textures and flavors. Here are some tips to ensure your dessert stands out:
-
Use softened cream cheese: Ensure your cream cheese is at room temperature for smooth blending.
-
Beat cream thoroughly: Whipping the heavy cream until stiff peaks form is crucial for a light texture.
-
Chill adequately: Letting the cheesecake cups chill in the fridge allows the flavors to meld beautifully.
-
Experiment with toppings: Try different fruit fillings or even chocolate ganache to find your favorite combo.
-
Layer carefully: For a visually appealing dessert, layer the ingredients slowly to maintain distinct layers.
Best Side Dishes for Easy Cheesecake Cups
Pairing side dishes with Easy Cheesecake Cups can enhance your dessert experience. Here are some great options:
-
Fruit Salad: A refreshing combination of seasonal fruits balances out the sweetness of cheesecake cups.
-
Chocolate-Covered Strawberries: These delicious treats add a touch of elegance and chocolatey goodness.
-
Mini Cookies: Serve assorted mini cookies on the side for a delightful crunch alongside the creamy dessert.
-
Coffee or Tea: A warm beverage complements the richness of cheesecake cups perfectly.
-
Cheese Platter: A small cheese platter can provide savory bites that contrast nicely with the sweet dessert.
-
Pecan Pie Bars: These sweet bars offer a different texture and flavor profile that pairs well with cheesecake.
Common Mistakes to Avoid
Making Easy Cheesecake Cups can be simple, but there are some common mistakes that can affect the final product. Here are a few to watch out for:
- Not Softening Cream Cheese: Using cold cream cheese can lead to lumps in your mixture. Always let it sit at room temperature until soft before blending.
- Overmixing the Cream: Be careful not to overbeat the heavy cream. This can cause it to become grainy instead of fluffy. Beat just until stiff peaks form.
- Skipping Chilling Time: Rushing this dessert without proper chilling can result in a runny filling. Allow at least one hour in the refrigerator for best results.
- Using Stale Cookies: Old or stale vanilla wafers won’t provide the right texture and flavor. Make sure your cookies are fresh for the best crunch.
- Ignoring Portion Sizes: Filling cups too full can make serving messy and difficult. Leave about an inch from the top of the cup for toppings and easy handling.
Storage & Reheating Instructions
Refrigerator Storage
-
- Duration: Store in the refrigerator for up to 3 days.
-
- Containers: Use airtight containers to prevent drying out.
Freezing Easy Cheesecake Cups
-
- Duration: Can be frozen for up to 2 months.
-
- Containers: Freeze in individual cups or transfer to freezer-safe bags.
Reheating Easy Cheesecake Cups
- Oven: Not recommended, as cheesecake cups are best served cold.
- Microwave: If necessary, microwave for a few seconds on low power—avoid overheating.
- Stovetop: Not applicable; these cups should remain chilled for best flavor and texture.
Frequently Asked Questions
Here are some common questions regarding Easy Cheesecake Cups.
Can I use other types of cookies?
Yes! You can experiment with different cookie bases like graham crackers or chocolate cookies for unique flavors.
How long do Easy Cheesecake Cups last?
When stored properly, these cups will last up to 3 days in the refrigerator and up to 2 months in the freezer.
Can I customize my cheesecake filling?
Absolutely! You can mix in fruits, chocolate, or flavored extracts into the cream cheese mixture for added taste.
What toppings work well with Easy Cheesecake Cups?
Popular toppings include fruit pie fillings, fresh berries, whipped cream, or chocolate shavings. Get creative!
Final Thoughts
These Easy Cheesecake Cups are not only delicious but also versatile. You can customize them with different flavors and toppings to suit any occasion. Try making them for your next gathering; they’re sure to impress your guests!
Easy Cheesecake Cups
Indulge in the delightful simplicity of Easy Cheesecake Cups, a no-bake dessert that’s perfect for any occasion. These creamy, layered treats come together in just 30 minutes and offer a touch of elegance to parties, picnics, or family gatherings. Each individual cup features a luscious cheesecake base atop a crunchy vanilla wafer layer, topped with your choice of fruit pie filling. Whether you’re hosting a birthday party or enjoying a casual get-together, these customizable dessert cups are sure to impress your guests and satisfy sweet cravings.
- Prep Time: 15 minutes
- Cook Time: 0 minutes
- Total Time: 15 minutes
- Yield: Makes approximately 8 servings 1x
- Category: Dessert
- Method: No-Bake
- Cuisine: American
Ingredients
- 16 vanilla wafer cookies
- 16 ounces cream cheese (softened)
- 1 cup powdered sugar
- 1 teaspoon vanilla extract
- 1 cup heavy whipping cream
- ½ teaspoon cornstarch
- 1 can fruit pie filling (cherry, strawberry, or blueberry)
Instructions
- In a mixing bowl, beat softened cream cheese until smooth. Mix in powdered sugar and vanilla extract until well-combined.
- In another bowl, whip heavy cream on low speed for one minute. Add cornstarch and increase to high speed until stiff peaks form.
- Gently fold whipped cream into the cream cheese mixture until fully incorporated.
- Place a vanilla wafer cookie at the bottom of each dessert cup and fill with cheesecake mixture, leaving an inch at the top.
- Spoon fruit pie filling over the cheesecake layer and chill in the refrigerator for at least one hour before serving.
Nutrition
- Serving Size: 1 cheesecake cup (150g)
- Calories: 320
- Sugar: 25g
- Sodium: 170mg
- Fat: 22g
- Saturated Fat: 13g
- Unsaturated Fat: 6g
- Trans Fat: 0g
- Carbohydrates: 32g
- Fiber: 1g
- Protein: 4g
- Cholesterol: 70mg